
 Getting started with containers is fairly easy. This post is just a summary of the steps I took to create a docker container image that I will be using in my kubernetes labs.
TLDR
- Create a free account on hub.docker.com
- Install Docker
- Create a Dockerfile.
- Build an image with the Dockerfile.
- Run a container with the image you created and perform tests.
- Push the image to docker hub.
Step 01: Install Docker
Installation is pretty straight forward. Follow the instructions here: Install Docker
I installed docker in Debian and followed the instructions here
Step 02: Create a Dockerfile
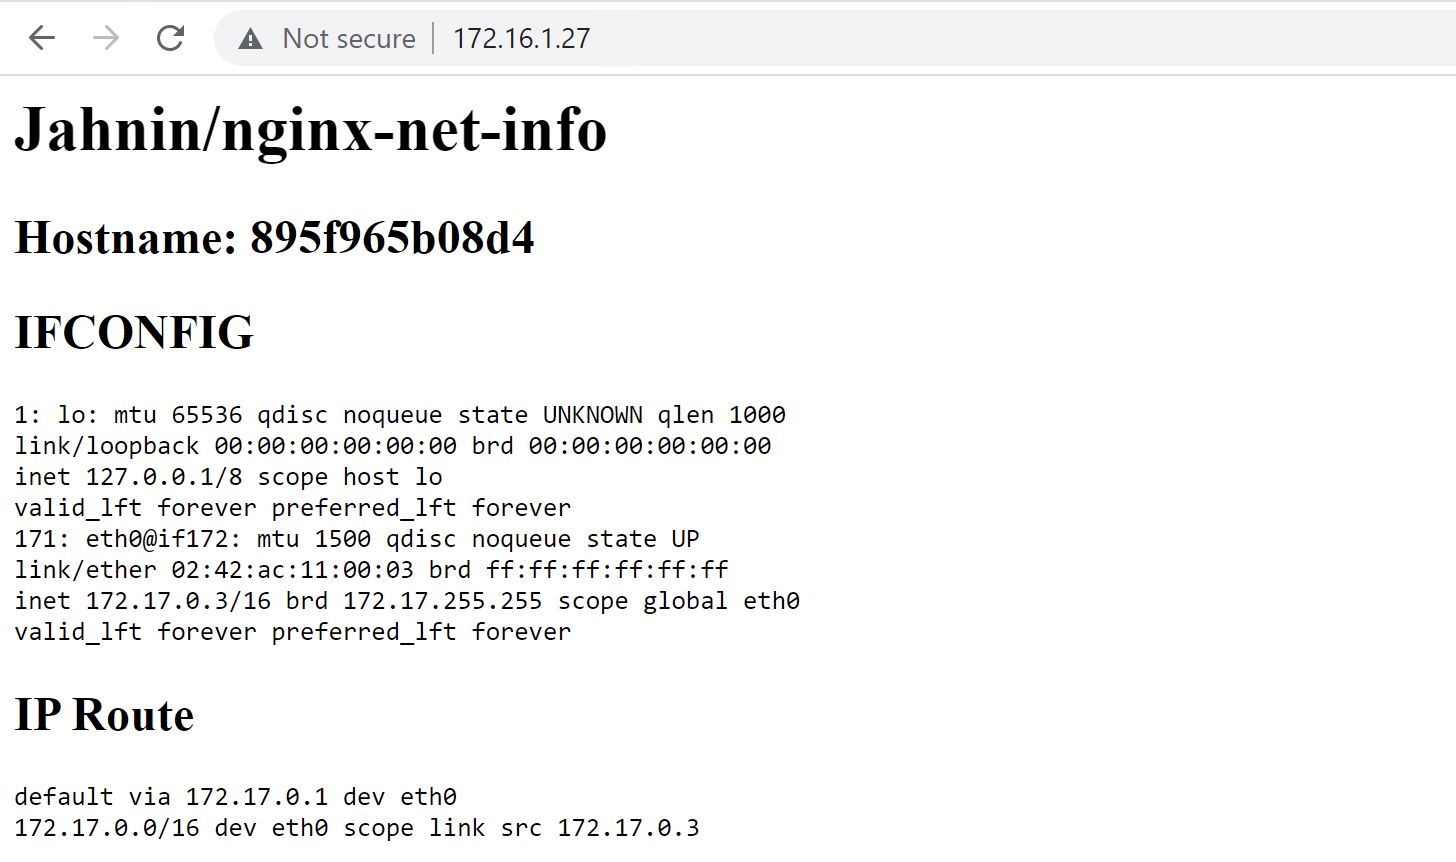
We will create a container that will display the Hostname of the containter, its IP details and IP route.
Create the dockerfile in a separate folder. I decided to use the following image nginx:mainline-alpine
For more information about the offical nginx docker image, refer the link
Dockerfile
root@debian:/home/debian/project/nginx-net-info# vi Dockerfile
FROM nginx:mainline-alpine

RUN echo "<h1>Jahnin/nginx-net-info</h1><h1></h1><h2>Hostname: `hostname`</h2>" > /usr/share/nginx/html/index.html
RUN echo "<h2>IFCONFIG</h2><code>`ip a| awk '{ print $0"<br>" }'`</code>" >> /usr/share/nginx/html/index.html
RUN echo "<h2>IP Route</h2><code>`ip route| awk '{ print $0"<br>" }'`</code>" >> /usr/share/nginx/html/index.html
The above run commands' adds HTML tags to generate the index.html file that nginx will use.
Step 03: Build the nginx image with the newly created Dockerfile
root@debian:/home/debian/project/nginx-net-info# docker build -t jahnin/nginx-net-info .

root@debian:/home/debian/project/nginx-net-info# docker image list
REPOSITORY                      TAG               IMAGE ID       CREATED             SIZE
jahnin/nginx-net-info           latest            7ba60fbc2646   29 minutes ago      22.9MB
nginx                           mainline-alpine   513f9a9d8748   3 weeks ago         22.9MB
alpine                          latest            d4ff818577bc   3 months ago        5.6MB
Step 04: Run the container, test and validate output
root@debian:/home/debian/project/nginx-net-info# docker run -it --rm -d -p 80:80 --name nginx-net-info jahnin/nginx-net-info

root@debian:/home/debian/project/nginx-net-info# docker run -it --rm -d -p 80:80 --name nginx-net-info jahnin/nginx-net-info
8bfa57e1d7bd7993a9452ce2f20b71a9de3f0da187ef070ad98c5c43150d7d3d
root@debian:/home/debian/project/nginx-net-info# docker ps
CONTAINER ID   IMAGE                   COMMAND                  CREATED         STATUS         PORTS                               NAMES
8bfa57e1d7bd   jahnin/nginx-net-info   "/docker-entrypoint.…"   9 seconds ago   Up 8 seconds   0.0.0.0:80->80/tcp, :::80->80/tcp   nginx-net-info
Docker will proxy on port 80. Just open a browser and point it to the machine where you installed docker to view the web page.
Step 05: Push the image to docker hub
root@debian:/home/debian/project/nginx-net-info# docker push jahnin/nginx-net-info
Using default tag: latest
The push refers to repository [docker.io/jahnin/nginx-net-info]
5a295dd113ec: Layer already exists
f331305eb749: Layer already exists
c852e60cc259: Layer already exists
40403bebe4fd: Layer already exists
b4b4e85910ea: Layer already exists
311d8db33235: Layer already exists
20d0effdf3a2: Layer already exists
e6d3cea19fef: Layer already exists
e2eb06d8af82: Layer already exists
latest: digest: sha256:ca7ee6ef676125860a11e0d30a93a0ddb0b34b2f1d2348f3648e8d72ab0b3fcc size: 2189